Secrets Management
Starting with ClusterControl 1.8.0, integration with HashiCorp Vault was introduced to securely store credentials used by ClusterControl.
With the release of ClusterControl 2.5.0, this integration has been significantly enhanced. ClusterControl can now store not only credentials, but also complete cluster configuration files and TLS certificates in a HashiCorp Vault or OpenBao server, eliminating the need to keep this sensitive information on the local filesystem.
This provides a centralized, authoritative source of configuration data, allowing multiple ClusterControl controllers to share the same cluster configuration. This capability is especially valuable in high-availability deployments, where consistency and synchronization between controllers are critical.
Additionally, multiple independent ClusterControl installations can use the same Vault instance while maintaining isolated configuration paths, ensuring separation between environments while benefiting from centralized secret management.
Requirements
The following requirements must be met to use the Vault integration:
- HashiCorp Vault version 1.x or later, or OpenBao 2.x or later.
- Only the Vault KV v2 secrets engine is supported.
How it works
- On the first ClusterControl startup, all existing configuration files and certificates are automatically moved into HashiCorp Vault/OpenBao. After that, everything is read from and written to Vault instead of the filesystem.
- On every subsequent startup in vault mode, if HashiCorp Vault/OpenBao cannot be reached, ClusterControl stops immediately with a critical error rather than hanging or silently running with no clusters loaded.
- The configuration file
/etc/cmon.cnfremains on the local filesystem, since it contains the credentials ClusterControl needs to communicate with HashiCorp Vault/OpenBao.
Configuration guide
The procedure to integrate ClusterControl with HashiCorp Vault/OpenBao is split into three parts: install and init the HashiCorp Vault/OpenBao server, configure HashiCorp Vault/OpenBao for ClusterControl and configure ClusterControl.
If you already have a running instance of HashiCorp Vault/OpenBao configured using HTTPS and running KV v2 engine, then skip Part 1 and go straight to Part 2.
flowchart TB
  subgraph s1["<b>PART 1: Vault Installation</b>"]
    s2["Install Vault"]
    s3["Configure & start service<br>TLS listener, systemd unit"]
    s4["Initialize & unseal.<br> Enable KV v2 engine"]
  end

  subgraph s5["<b>PART 2: Vault Configuration</b>"]
    s6["Create an exclusive mount <br>path for ClusterControl"]
    s7["Create a policy & token"]
  end

  subgraph s8["<b>PART 3: ClusterControl Configuration</b>"]
    s9["Back up ClusterControl"]
    s10["Configure Vault,<br> add parameters to <br>/etc/cmon.cnf "]
    s11["Enable the Vault backend,<br> add a parameter to <br>/etc/default/cmon"]
    s12["Restart cmon"]
  end

  s2 --> s3 --> s4 --> s6 --> s7 --> s9 --> s10 --> s11 --> s12
Part 1 - Install and initialize Vault
For the purposes of this document, we'll use an Ubuntu server and HashiCorp Vault as an example.
Install Vault from HashiCorp's repository:
sudo apt update
wget -O- https://apt.releases.HashiCorp.com/gpg | sudo gpg --dearmor -o /usr/share/keyrings/HashiCorp-archive-keyring.gpg
echo "deb [arch=$(dpkg --print-architecture) signed-by=/usr/share/keyrings/HashiCorp-archive-keyring.gpg] https://apt.releases.HashiCorp.com $(lsb_release -cs) main" | sudo tee /etc/apt/sources.list.d/HashiCorp.list
sudo apt update
sudo apt install vault
Generate a TLS certificate for Vault (HTTPS is required), then configure the server in /etc/vault.d/vault.hcl:
    storage "file" {
      path = "/opt/vault/data"
    }

    listener "tcp" {
      address       = "0.0.0.0:8200"
      tls_cert_file = "/opt/vault/tls/tls.crt"
      tls_key_file  = "/opt/vault/tls/tls.key"
    }

    api_addr = "https://vault.test.com:8200"
    ui = true
Set the permissions and start the service:
Point the CLI to the server and initialize Vault. This only happens once per Vault deployment.
export VAULT_ADDR=https://<VAULT_IP>:8200
export VAULT_CACERT=/opt/vault/tls/tls.crt

vault operator init
Initialization returns five unseal keys and a root token. Any three of the five keys are required to unseal Vault each time it restarts - store them in a safe place. The root token is only used for initial setup and should not be used for day-to-day operations. We recommend creating a Vault user and login to the Vault with user/password from the GUI.
Example output
Unseal Key 1: iKJa/e4sYYUE6hIE42kg5ICl9laAsCWDexWa89iWFolB
Unseal Key 2: 0jeHjTwlQNtnLJFsoUgWxSLWz/OHUtsPMGwzrUr8W+17
Unseal Key 3: xIJqOKJivoaRtTtJxKyeEW/lUjxDwNT002g8d3ezTcH3
Unseal Key 4: Un7dg6bwG536LJgo8QazDtIDzl2ywa8T+mXBz8Ijy/8P
Unseal Key 5: /k0uLeFh8DUEFG4hmECZlsGkqmn7MZIHNoxoPTG/Fnpy

Initial Root Token: hvs.UW1ZiQ6R7bQLPYRBqoCdtZZf

Vault initialized with 5 key shares and a key threshold of 3. Please securely
distribute the key shares printed above. When the Vault is re-sealed,
restarted, or stopped, you must supply at least 3 of these keys to unseal it
before it can start servicing requests.

Vault does not store the generated root key. Without at least 3 keys to
reconstruct the root key, Vault will remain permanently sealed!

It is possible to generate new unseal keys, provided you have a quorum of
existing unseal keys shares. See "vault operator rekey" for more information.
Enable KV v2 secrets engine
Part 2 - Configure Vault for ClusterControl
Create a policy that allows ClusterControl access only to its own path, then issue a token from that policy:
Create a file /etc/vault.d/cmon-policy.hcl with the following content
Save the token returned in the last step in a safe place which you'll use it to configure ClusterControl.
Example output
Part 3 - Configure ClusterControl
Important
Once files are migrated to Vault, the local copies are removed. It is mandatory to back up your ClusterControl installation before continuing with the integration procedure.
sudo tar -czf cmon-config-backup.tar.gz /etc/cmon* /etc/s9s.conf
sudo mysqldump -u root -p cmon > cmon-db-backup.sql
The following parameters are used to enable the use of Vault in ClusterControl.
| Parameter | File | Description | Default |
|---|---|---|---|
vaultkv_token |
/etc/cmon.cnf |
Token used to authenticate with HashiCorp Vault/OpenBao | Required |
vaultkv_addr |
/etc/cmon.cnf |
Vault server address (HTTPS only) https://IP:8200 or https://servername:8200 |
https://127.0.0.1:8200 |
vaultkv_mount |
/etc/cmon.cnf |
KV v2 mount path corresponding to the {mount} portion of the Vault API URL | clustercontrol |
vaultkv_path_prefix |
/etc/cmon.cnf |
Mandatory when multiple cmon instances will share the same mount path to manage different sets of clusters (not HA) |
(empty) |
vaultkv_namespace |
/etc/cmon.cnf |
Optional namespace. When configured, cmon sends it as part of the HTTPS header on each request. This option is independent of vaultkv_path_prefix. Both may be used simultaneously. During startup, cmon verifies that the namespace exists. If not, startup fails rather than silently managing zero clusters. (This feature is only available in OpenBao 2.3+ or HashiCorp Vault Enterprise) |
Root namespace |
EXTRA_OPTS='--secret-storage-engine=vault' |
/etc/default/cmon |
Enables the Vault backend. Available options are {file | k8s |
For this example, we use a single shared mount point named clustercontrol.
Add the Vault connection details to /etc/cmon.cnf :
vaultkv_token=<CMON_POLICY_TOKEN>
vaultkv_addr=https://<VAULT_SERVER_IP>:8200
vaultkv_mount=clustercontrol
<CMON_POLICY_TOKEN> is the token created in Part 2.
We share the mountpoint for two ClusterControl servers with independent managed clusters, so we'll set up vaultkv_path_prefix differently: CC1 for ClusterControl server 1 and CC2 for ClusterControl server 2.
Parameter for server 1:
and for server 2:
Enable the Vault backend in /etc/default/cmon by adding:
Before restarting ClusterControl
- HashiCorp Vault/OpenBao must already be initialized and unsealed.
- The KV v2 engine must exist at the configured mount.
- A full backup should be taken.
Confirm Vault is reachable and unsealed before starting ClusterControl:
Look for"initialized": true and "sealed": false in the response.
Restart ClusterControl:
ClusterControl automatically finds every existing cluster config and certificate on disk and migrates them to Vault. This process might take a few minutes depending on the number of existing clusters. If you are logged in to the ClusterControl GUI, you will see the clusters appear gradually. Once the process completes, ClusterControl reads and writes through HashiCorp Vault/OpenBao only.
Path to secrets in Vault
Secret paths
Each managed file is stored as a single KV v2 secret.
The path is structured as:
or:If vaultkv_path_prefix is set, where <file_path> indicates the original file path.
Example:
becomes: or if vaultkv_path_prefix=CC1 becomes:You may list the Vault content using vault list command:
Example output
File contents are base64-encoded before being stored, allowing binary files such as certificates and private keys to be safely embedded in JSON.
Vault GUI
Connect to the Vault GUI (https://<host_address>:8200/ui) to check the contents of the Vault.
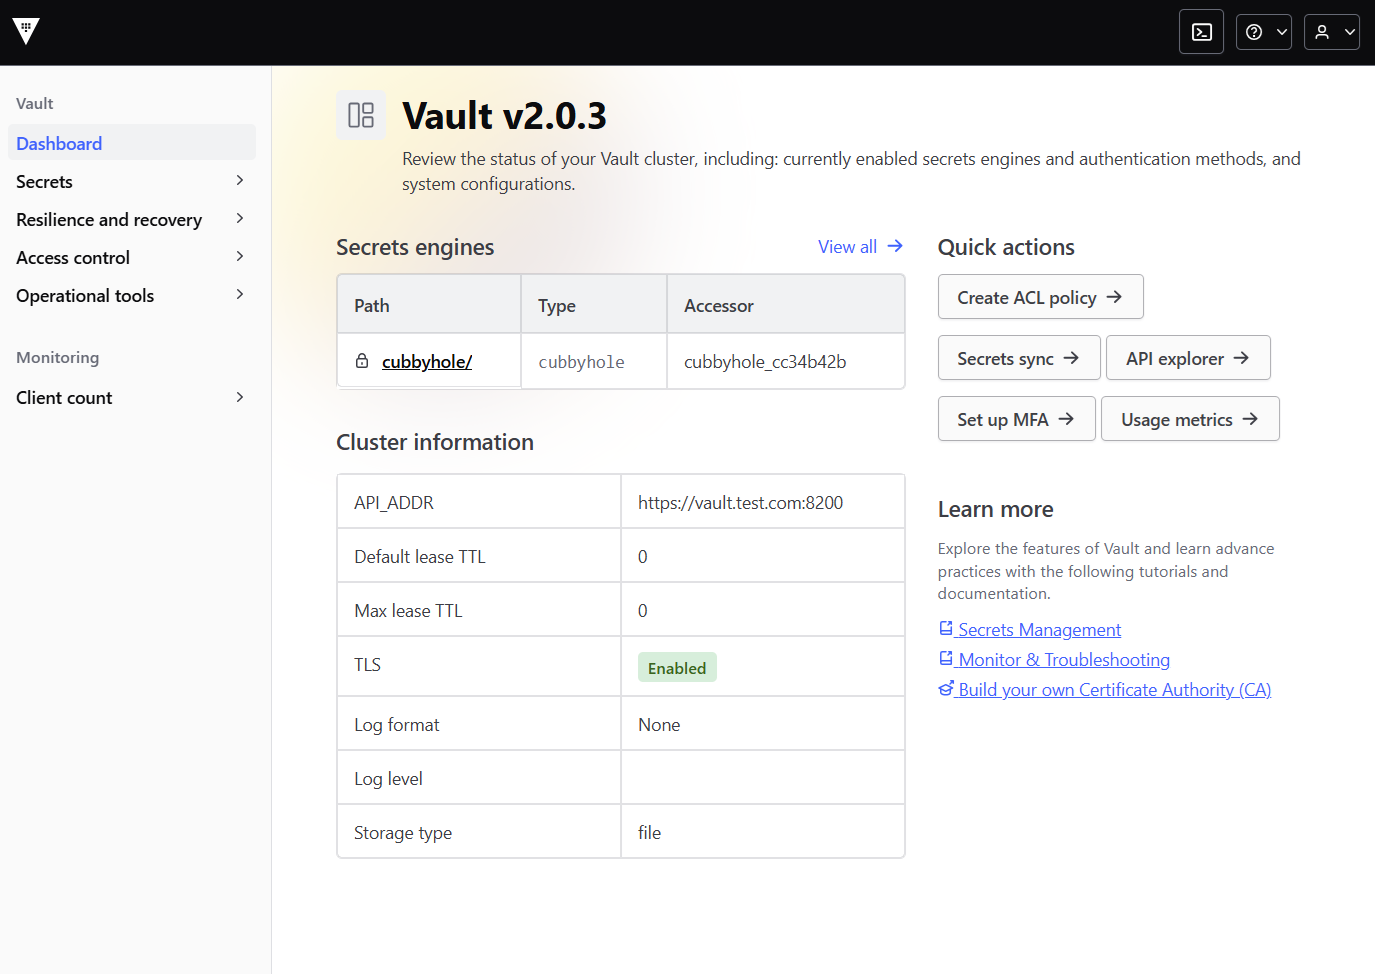
Before starting ClusterControl, you'll see only the empty mount point:
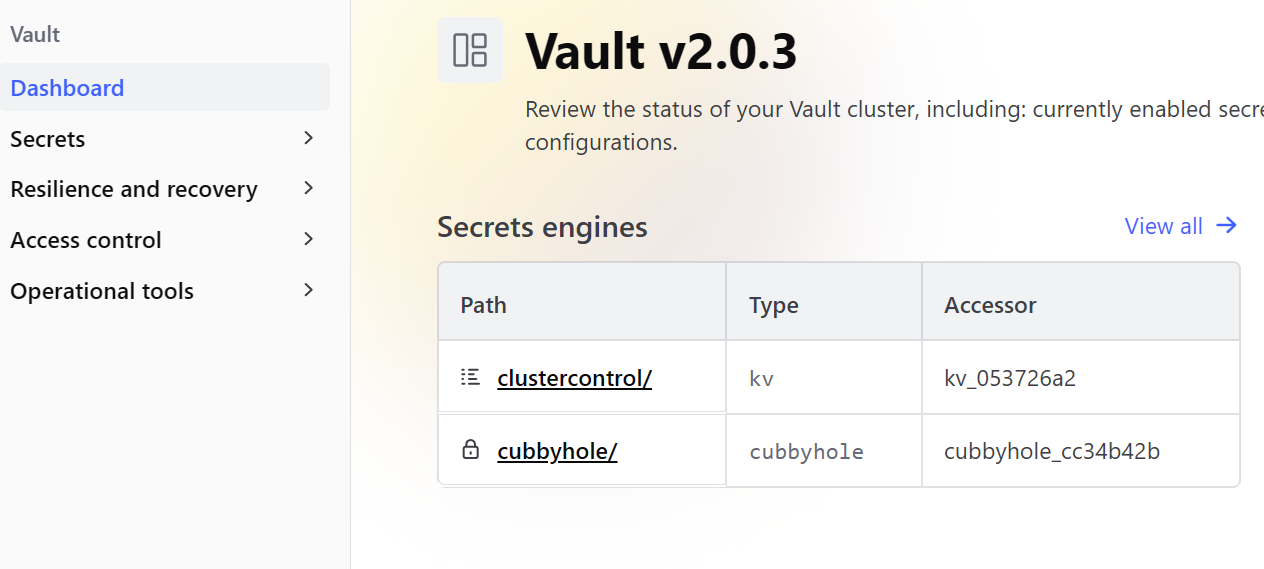
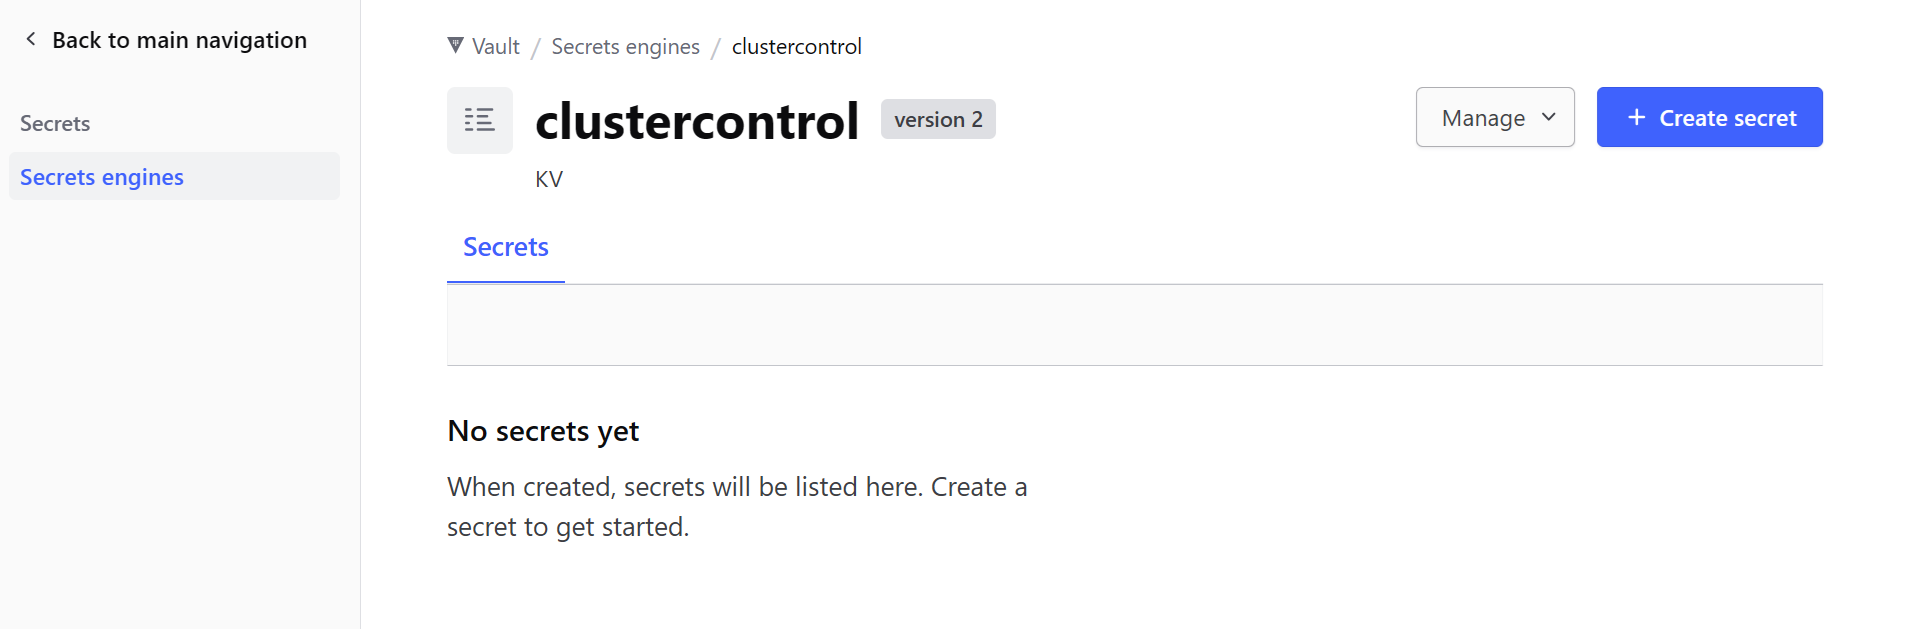
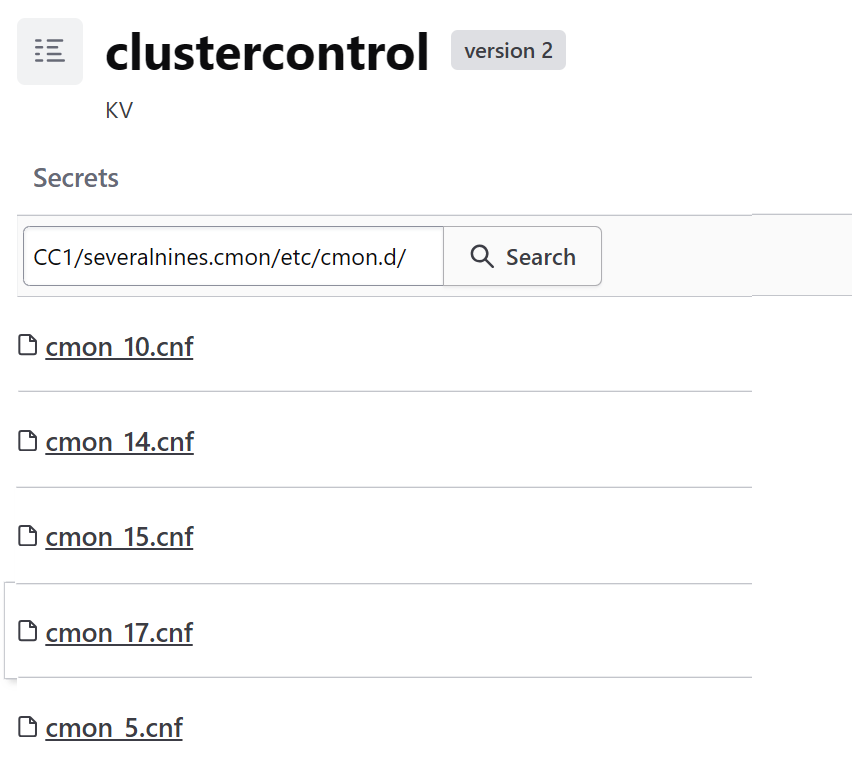
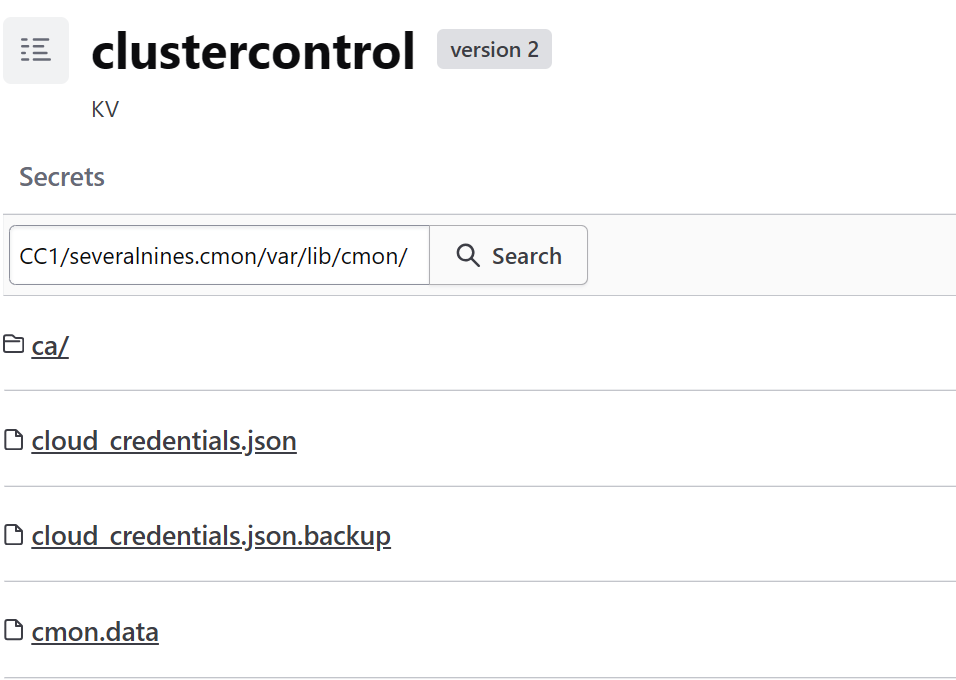
After the ClusterControl server is restarted and linked to Vault, you'll see the content organized in the following tree:
    mountpoint_id/path_prefix/severalnines.cmon/etc/cmon.d/CLUSTERID.cnf
    mountpoint_id/path_prefix/severalnines.cmon/var/lib/cmon/ca/RPC_CRT_FILE
    mountpoint_id/path_prefix/severalnines.cmon/var/lib/cmon/ca/RPC_KEY_FILE
    mountpoint_id/path_prefix/severalnines.cmon/var/lib/cmon/cloud_credentials.json
    mountpoint_id/path_prefix/severalnines.cmon/var/lib/cmon/cmon.data
The following example shows the result of migrating 2 ClusterControl servers to the same Vault, one with path_prefix set to CC1 and the other to CC2:
    clustercontrol/CC1/severalnines.cmon/etc/cmon.d/CLUSTERID.cnf
    clustercontrol/CC1/severalnines.cmon/var/lib/cmon/ca/RPC_CRT_FILE
    clustercontrol/CC1/severalnines.cmon/var/lib/cmon/ca/RPC_KEY_FILE
    clustercontrol/CC1/severalnines.cmon/var/lib/cmon/cloud_credentials.json
    clustercontrol/CC1/severalnines.cmon/var/lib/cmon/cmon.data
    ...
    clustercontrol/CC2/severalnines.cmon/etc/cmon.d/CLUSTERID.cnf
    clustercontrol/CC2/severalnines.cmon/var/lib/cmon/ca/RPC_CRT_FILE
Examining the same in the Vault GUI:
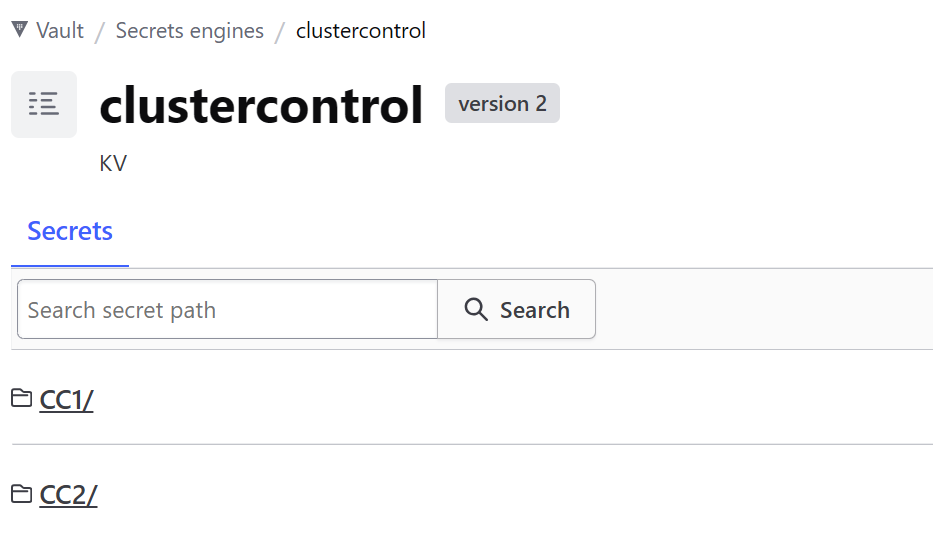
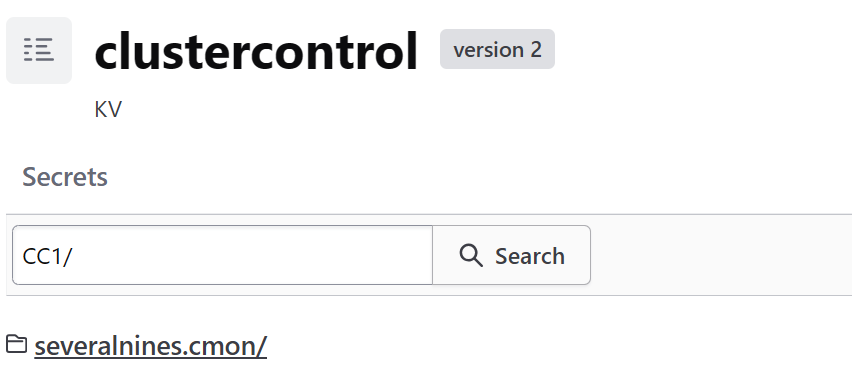
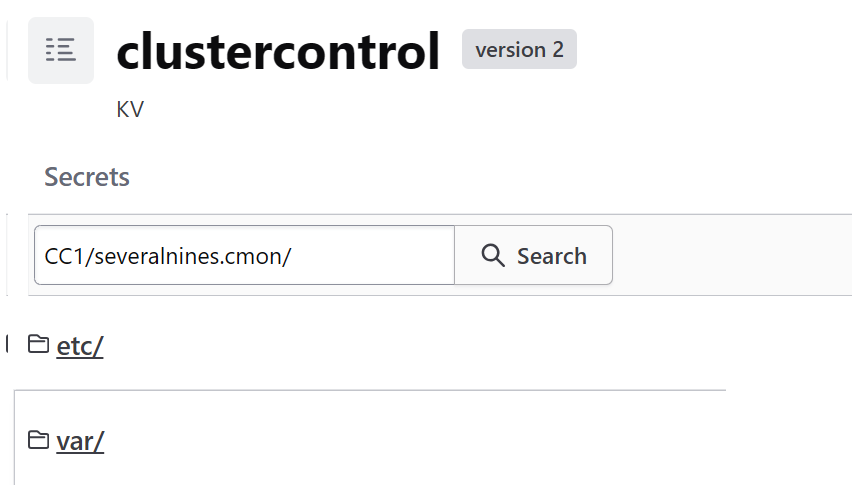
List of ClusterControl instance CC1's cluster configuration files:
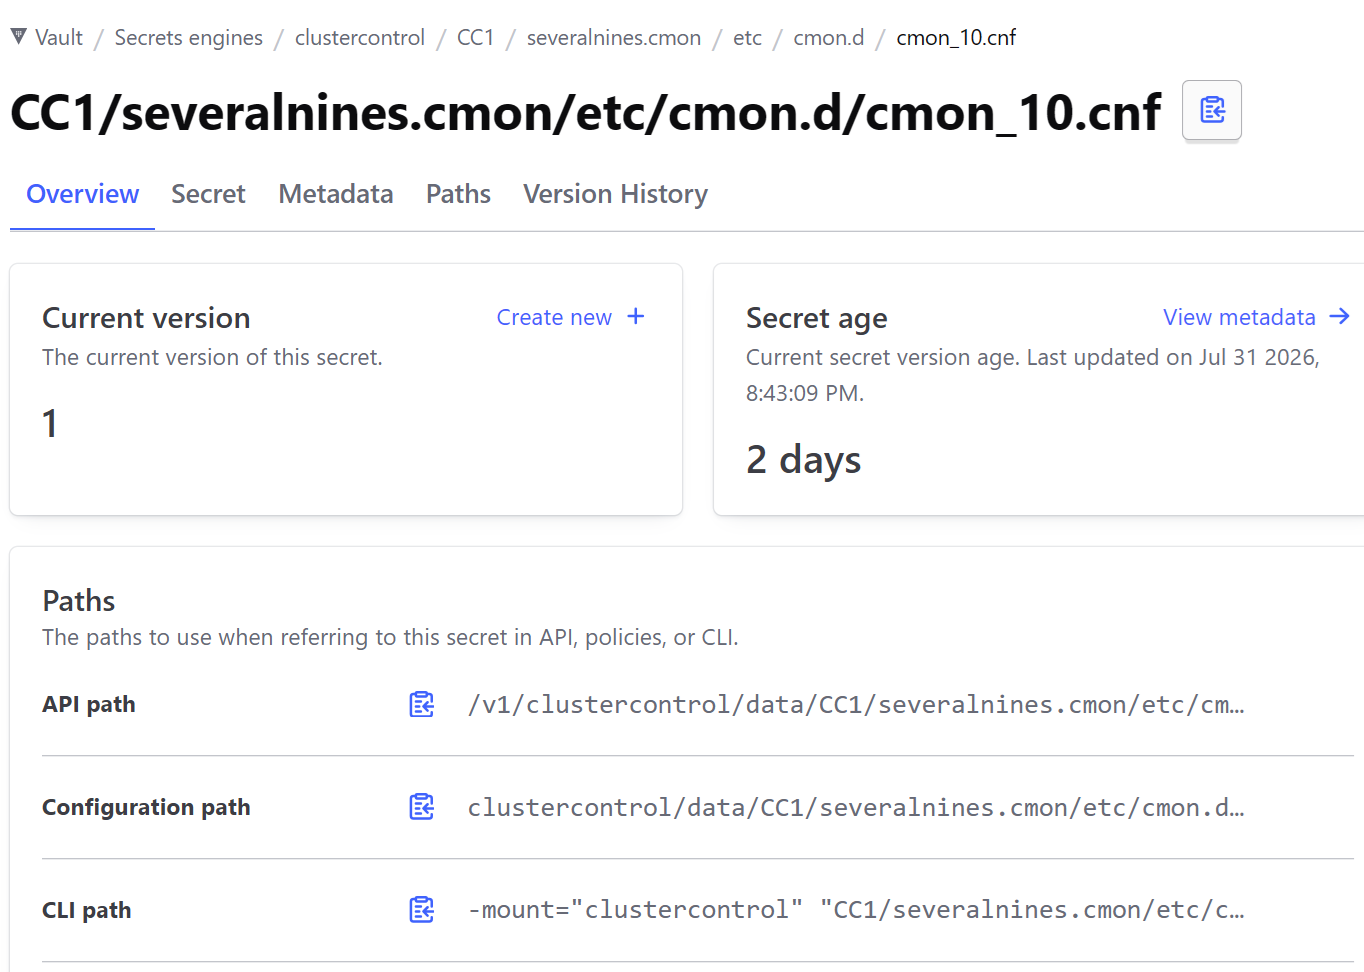
Cloud credentials and CA:
Reverting Vault integration
Should you want to revert this process, you should follow these steps:
- Get all the keys and values from the Vault for all of the clusters.
- Stop cmon process.
- Remove ALL Vault parameters from
/etc/cmon.cnf. - Add the keys and values you extracted from the Vault into respective configuration files in
/etc/cmon.d. You can use the backup copy of the configuration from before Vault has been used but please keep in mind that some additional passwords might have been added in the meantime. Double-check that your old configuration files contain all the data that is stored in the Vault.
Legacy Vault integration
A separate, older Vault integration exists for storing individual cluster credentials (passwords and keys) as key-value pairs. The two systems are independent.
It uses different configuration parameters in /etc/cmon.cnf config file : vault_addr, vault_token, vault_path, vault_auto_migrate. The new storage secrets engine parameter vaultkv_* are intentionally different, ensuring each system operates safely on its own, without affecting the other.
The legacy system is enabled when vault_token is present in /etc/cmon.cnf file. It adopts a cluster only when secrets already exist in its configured path unless: vault_auto_migrate=true is set, in which case secret fields are extracted during the next cluster save.
When new configuration --secret-storage-engine=vault is enabled in /etc/default/cmon, the legacy credential store is automatically disabled to avoid conflicts.
If the --secret-storage-engine=vault option is later removed while vault_token remains in /etc/cmon.cnf, the legacy integration becomes active again and moves passwords and keys into Vault during the next cluster save.
Limitations
- ClusterControl only supports the KV v2 secrets engine.
- Updating a credential in Vault will not change the underlying credential on the database node. Thus, when changing a password, the account must be updated on the database node(s).
- The cmon-events and cmon-ssh services have yet been migrated to use Vault. Hence the passwords are still present in
/etc/cmon.cnf.